
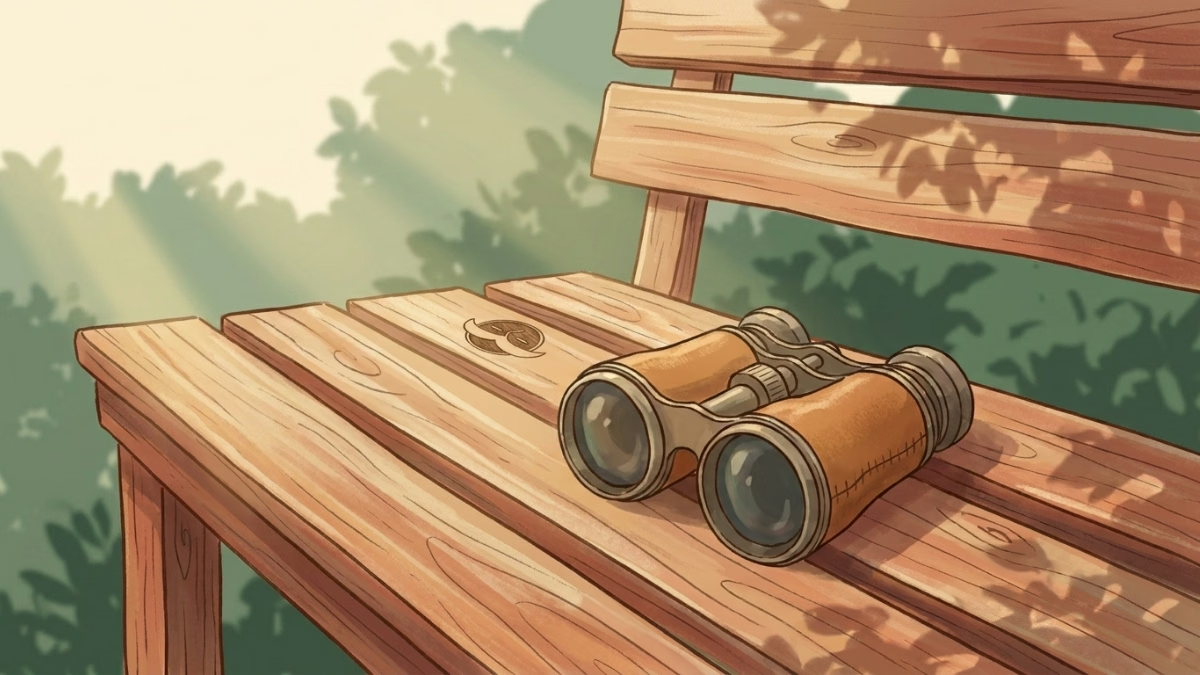
Birdwatching has a PR problem. Most people picture a retiree in a tan vest, whispering into a thermos at 5 a.m. That person is having a genuinely great time, but you don’t have to become them to start.
To learn how to start birdwatching for beginners, here’s the actual short version: grab a pair of binoculars, find a park within ten minutes of your house, and go in the morning. The National Park Service says all you need is a bird guide, binoculars, and a positive attitude. That’s it. No vest required.
Key Takeaways
- The National Park Service says beginners only need a bird guide, binoculars, and a positive attitude to start birding.
- 8×42 binoculars are the standard recommendation for beginners, balancing magnification and brightness.
- Dawn and the first couple of hours after sunrise are when birds are most active, the single easiest way to see more.
- Starting in a familiar local park beats traveling to a ‘real’ birding spot; repeated visits to one patch teach you far more than one-off trips.
- Train your eyes and ears before opening an ID app, size, shape, movement, and voice narrow it down faster than scrolling through photos.
Gear: keep it embarrassingly simple
The one upgrade worth making early is a decent pair of binoculars. The standard starter recommendation from multiple beginner guides is 8×42: the “8x” gives you enough magnification to see feather detail, and the “42” lets in enough light that you’re not squinting in the shade. You don’t need to spend a fortune. A mid-range 8×42 is where most people land and stay for years.
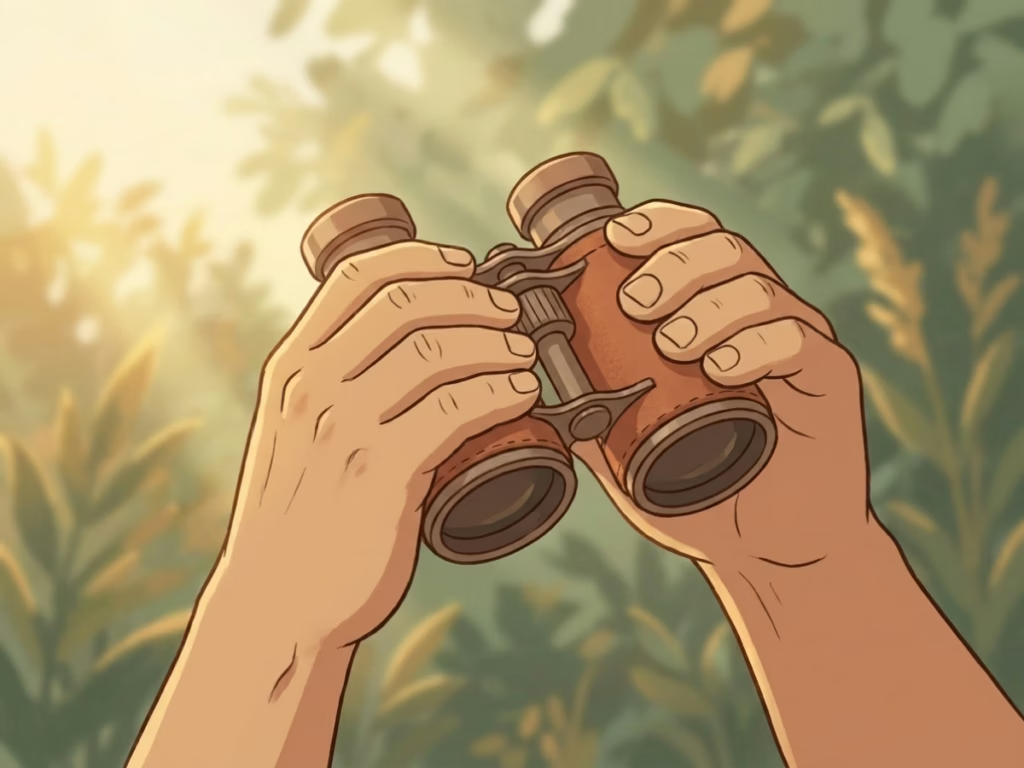
Beyond that, the RSPB points out that all you really need is an outdoor space, patience, and keen eyes. Which, if you think about it, describes most good hobbies. (And most bad dates, but that’s a different post.)
For a field guide, your local bookshop will have a region-specific one. Cornell Lab’s Merlin Bird ID app is free and identifies birds by photo or sound. Cornell’s eBird app is also free and helps you find birding hotspots near you. Both are solid additions to your phone, just don’t open them mid-observation. More on that in a second.
Where and when to go
Skip the “famous birding spots” for now. Current beginner guides consistently point to parks, gardens, and local water as better starting places than traveling somewhere impressive. You’ll learn faster on a bench you can return to every week than on one dramatic field trip you’ll never repeat.
Go at dawn, or at least within the first couple of hours after sunrise.
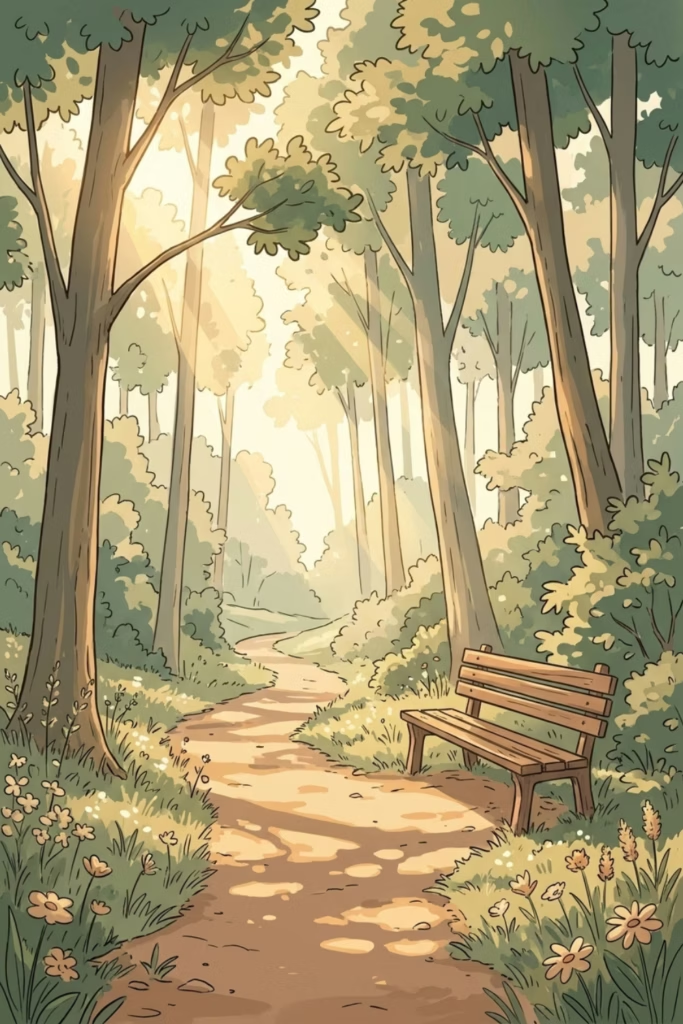
That’s when birds are most active, full stop. I know dawn sounds heroic, but it’s really just “earlier than you’d like” for most of us. Set an alarm, make coffee, complain quietly. You’ll be glad once you’re out there.
The one mistake beginners make when starting birdwatching
Reaching for the app too fast. The urge to name the thing is understandable (naming things feels like progress), but it short-circuits the actual skill-building.
Before you open any guide, run through: size, shape, how it moves, what sounds it’s making, and what kind of habitat you’re in. A bird that hops on the ground in short bursts is behaving differently than one that hangs upside-down on a branch, and that behavior will narrow it down far faster than scrolling through a thousand thumbnail photos.
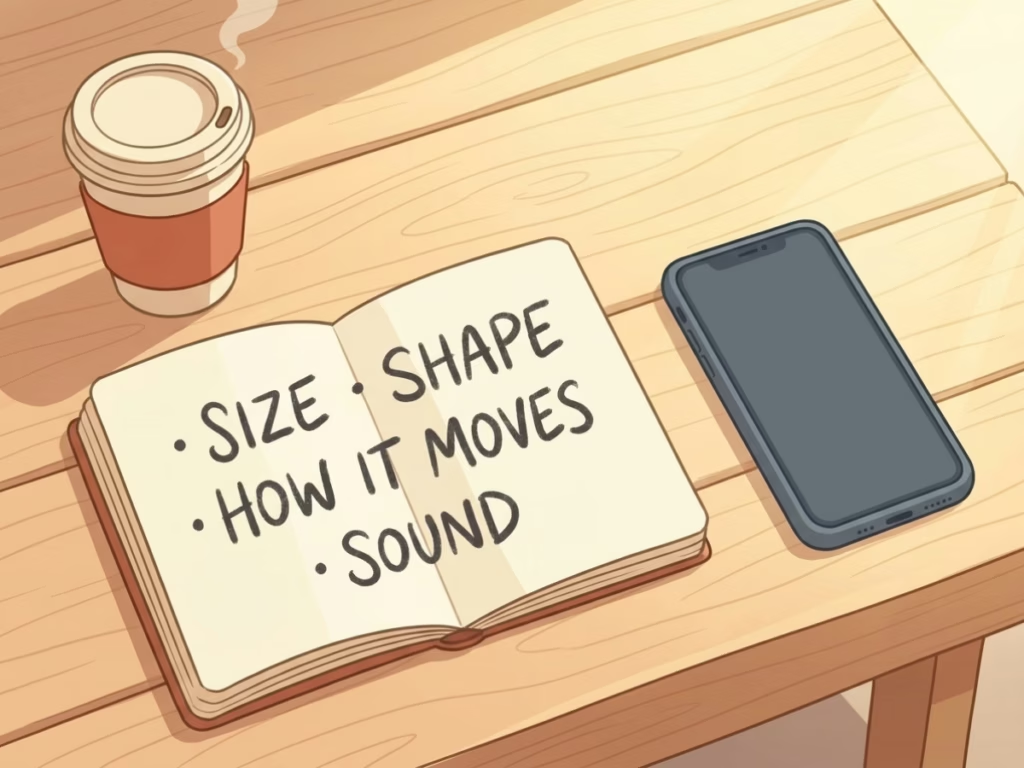
Train your eyes and ears first. The app gets better when you’re giving it something specific to confirm.
This is basically the same idea behind finishing last in your hobby being a win, the point isn’t to be right immediately. It’s to get better at noticing. And noticing, as it turns out, is a skill that bleeds into everything else.
Frequently Asked Questions
Do I need expensive equipment to start birdwatching?
No. The RSPB says an outdoor space, patience, and a keen pair of eyes is all you need to begin. If you want binoculars, 8×42 is the recommended beginner spec, look for a mid-range pair rather than the cheapest option, which tends to make everything look like it’s underwater.
What’s the best time of day to go birdwatching?
Dawn and the first hour or two after sunrise, when birds are most active. Not glamorous advice, but it’s the advice that works.
Should I use a birdwatching app as a beginner?
Yes, eventually, but not as your first move when you spot something. Practice observing size, shape, movement, and sound before opening an app. You’ll use the app better, and you’ll retain more.
Where should a beginner go birdwatching?
Somewhere local and repeatable: a nearby park, a garden, a lake. Returning to the same spot multiple times teaches you what’s normal there, which makes anything unusual much easier to spot. Distance doesn’t make birds more interesting; familiarity does.
Is birdwatching actually a good hobby for someone who isn’t “outdoorsy”?
Honestly, yes. It’s low-cost, low-stakes, and you can do it from a park bench with coffee in hand. You don’t need to hike anywhere. You don’t need to know anything going in. It’s a genuinely low-pressure habit that rewards patience over performance, which makes it a good counterweight to basically everything else in modern life.
Here’s your move for today: look up one birding hotspot near you on eBird, pick a morning this week, and go. No vest, no pressure. Just you, a pair of binoculars if you have them, and whatever shows up.
Get The Enough List — free.
Ten minutes, five areas. A short guide for figuring out what enough looks like in money, health, work, people, and time — before you go sprinting at someone else's finish line. Yours when you subscribe.

Thoughts?